Table of contents
I began tinkering with React Native a few weeks ago, and I haven't been able to stop. Of course, this comes second to my recent obsession with building AI-powered apps – web, and more recently, mobile. In this article, I'll walk you through the process of building a cross-platform mobile app using React Native, leveraging the interface API on Hugging Face. If you're not familiar, Hugging Face is a repository of AI models. I encourage you to explore the suite of countless AI models you can start building with today.
Pre-requisite:
React Native Setup
Hugging Face account & API Access Token
I encourage you to follow the in-depth, well-written piece on setting up your machine for react native on the react native website. You can find that here: Link
With your development environment ready, proceed by opening your terminal. Navigate to the directory of your preference and execute the following command:
npx react-native init HuggingFaceApp
Once this is completed, access the HuggingFaceApp directory through your terminal and open it using Visual Studio Code. Now, let's begin our work.
Our first step involves installing the necessary packages: axios, native-base, and react-native-dotenv. Execute the following commands to achieve this:
npm i axios && npm i native-base && npm i react-native-dotenv
Then cd in ios, and run: pod install
Now, let's modify the App.tsx file. Our objective will be clarified in a moment, but before that, let me explain the context of our task.

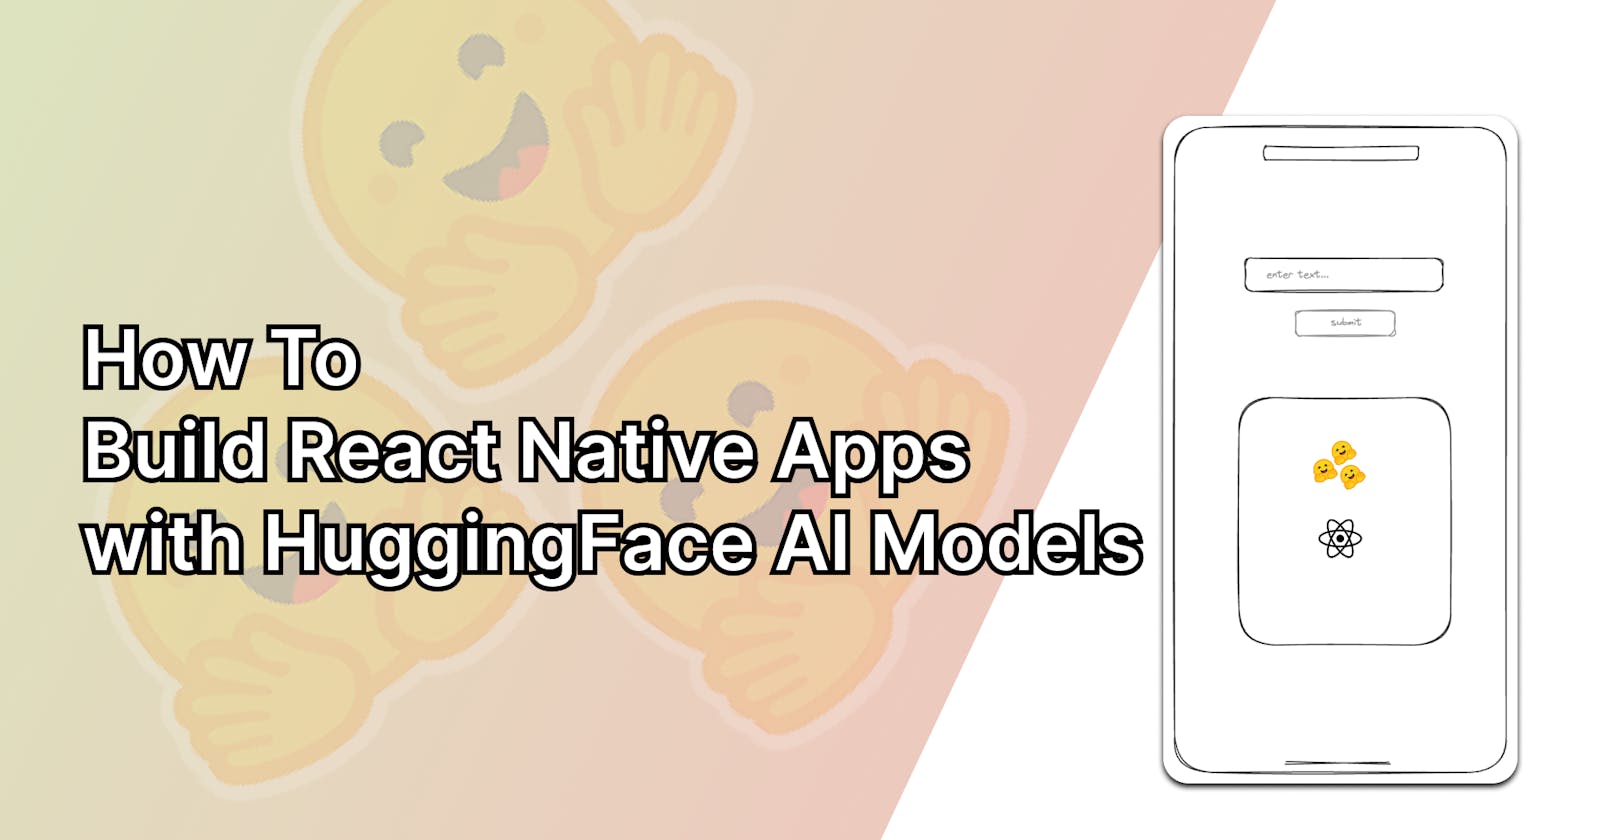
This was the initial sketch

this was what we ended with
The scope of the app goes thus:
A straightforward input field enabling users to enter their prompts.
A submission button responsible for transmitting the user's input to the Hugging Face API. We're working with this model: https://huggingface.co/SG161222/Realistic_Vision_V1.4?
An image placeholder ready to display the image file received from the Hugging Face API once it arrives.
An indicative pre-loader to show progress.
If you don’t want to spend all of your time going over the step one by one, you can find the entire code base here: https://github.com/geniusyinka/HuggingFaceAPI-MobileApp
Now, back to the code.
Open your App.tsx file, paste this before the function App()
async function query(QueryData) {
  try {
    const response = await axios({
      url: `https://api-inference.huggingface.co/models/SG161222/Realistic_Vision_V1.4`,
      method: 'POST',
      headers: {
        Authorization: `Bearer ${process.env.API_TOKEN}`,
        Accept: 'application/json',
        'Content-Type': 'application/json',
      },
      data: QueryData,
      responseType: 'arraybuffer',
    });

    const mimeType = response.headers['content-type'];
    const result = response.data;

    const base64data = Buffer.from(result, 'binary').toString('base64');
    const img = `data:${mimeType};base64,${base64data}`;

    return img;
  } catch (error) {
    console.error('Error making the request:', error);
    throw error;
  }
}
And this is what goes into your return method:
return (
    <NativeBaseProvider>
        <ScrollView
          contentInsetAdjustmentBehavior="automatic">
          <View>
            <Center>
              <Text fontSize="lg" mt={10}>
              Input your prompt in the field below.
              </Text>
            </Center>
            <View>
              <Box alignItems="center">
                <Box
                  flex={1}
                  bg="#fff"
                  alignItems="center"
                  justifyContent="center">
                </Box>
                <Stack space={4} w="75%" maxW="300px" mx="auto">
                  <Input
                    size="md"
                    placeholder="Blackhole"
                    value={inputText}
                    onChangeText={setInputText}
                  />
                </Stack>
                <Button
                  size="sm"
                  mt={5}
                  variant="outline"
                  colorScheme="primary"
                  onPress={handleButtonClick}>
                  Submit
                </Button>
              </Box>
            </View>
            <Center mt={5}>
              {loading ? (
                <ActivityIndicator size="large" color="#00ff00" />
              ) : (
                imageData && (
                  <Image
                    source={{uri: `${imageData}`}}
                    style={{width: 300, height: 300}}
                  />
                )
              )}
            </Center>
          </View>
        </ScrollView>
    </NativeBaseProvider>
  );
Simply build your app. npx react-native run-ios or npx react-native run-android
Your computer should spin up an emulator depending on which command you ran. Once it’s up, you can begin interacting with your app as below:

Feel free to make reference to the github repo for the full code: https://github.com/geniusyinka/HuggingFaceAPI-MobileApp
